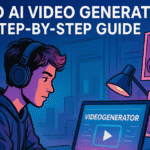
AI Horror Animation Tutorial: How to Create Cinematic Horror Videos for YouTube in Hours, Not Weeks
Why AI Horror Animation Is the Next Big Thing
Channels like Horror Shorts Party are pulling millions of views and tens of thousands of dollars every month—all built around creepy storytelling and simple 2D animation. But here’s the secret: you don’t need to be an animator or buy expensive software. The rise of AI animation tools has made this genre one of the most accessible and profitable for Indian creators today.
Horror storytelling has always had a dedicated audience. Now, with AI, that demand meets opportunity—you can turn a script into a cinematic animation with minimal effort and zero prior experience.
Step 1: Generate Unique Horror Story Ideas
Every great horror animation starts with a strong story. You can’t build suspense without a compelling idea.
Start by using an AI writer (ChatGPT or similar) to generate story prompts.
Use a prompt like “Generate 10 unique horror story ideas for YouTube videos.” Customize by tone, theme, or setting—haunted apartments, ghostly hospitals, AI gone wrong—whatever fits your style. The key is volume. Generate many ideas, shortlist the best ones, and plan your content calendar around them.
Step 2: Research Winning Thumbnails and Titles
Before writing your script, identify what’s already working. Search YouTube for your niche (for example, “AI horror animation” or “creepypasta storytelling”). Study thumbnails and titles of top-performing videos and save a couple that match your idea.
Thumbnails are the most important conversion lever on YouTube—treat this step like research, not an afterthought.
Step 3: Write Your Script Using AI
Now that you’ve picked your story, write the script—the heartbeat of your video. Retention lives or dies on the script; a weak script kills views no matter how polished the visuals are.
Use an AI like ChatGPT to get a fast first draft. Paste a clear prompt: title + idea + desired tone (for example, “Creepypasta style”).
AI gives you a draft instantly. Do not publish it as-is. Read through, tighten pacing, add human details, and make dialogues feel lived-in. Small human edits are what make content feel authentic rather than robotic.
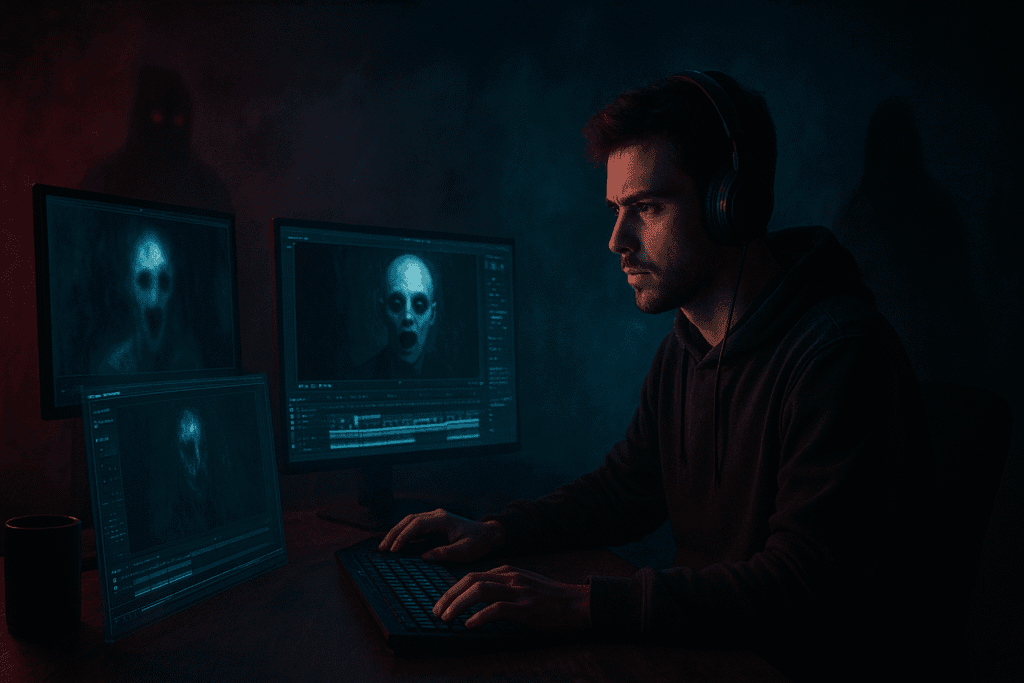
Step 4: Generate Character Images and Scenes
With the script ready, it’s time to visualize each scene.
Use ImageFX (or an equivalent image generator) to create consistent 2D scenes and character art for every beat of your story.
- Copy the AI-generated visual prompts from your script file.
- Paste them into ImageFX and choose “YouTube landscape.”
- Generate images for each scene—aim for about 10–15 images per 60 seconds of runtime.
Maintain consistency in lighting, color palette, and character features across all images—that’s what gives the final cut a cinematic feel.
Step 5: Turn Images into Animations with Whisk
Transform static images into cinematic motion using Whisk.
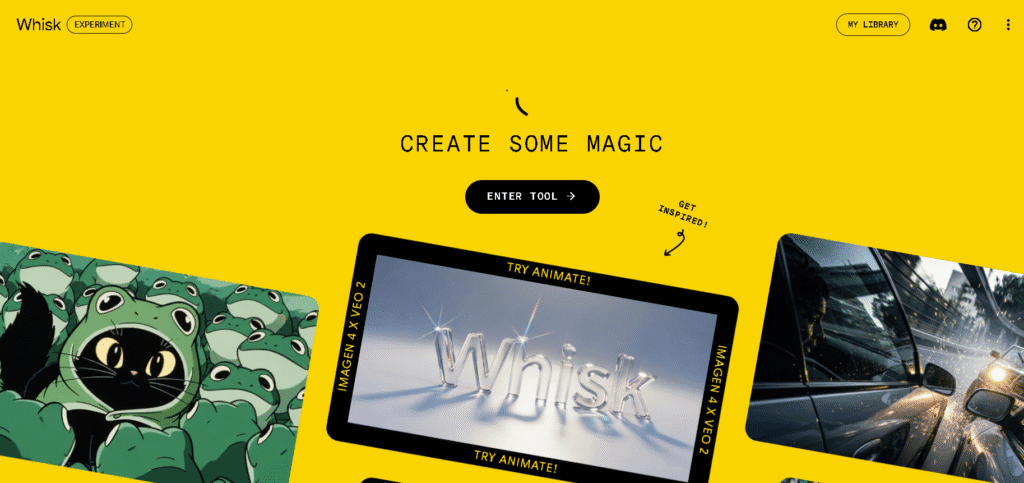
Workflow:
- Open Whisk and select the image you want to animate.
- Paste the scene’s video prompt (generated earlier) and click Generate.
- Repeat for all key scenes.
You don’t have to animate every single image—focus on high-impact moments and leave the calmer frames static to save time.
Step 6: Add Voiceover Using 11Labs
A believable narration lifts horror from “interesting” to “unsettling.” Use ElevenLabs for realistic TTS.
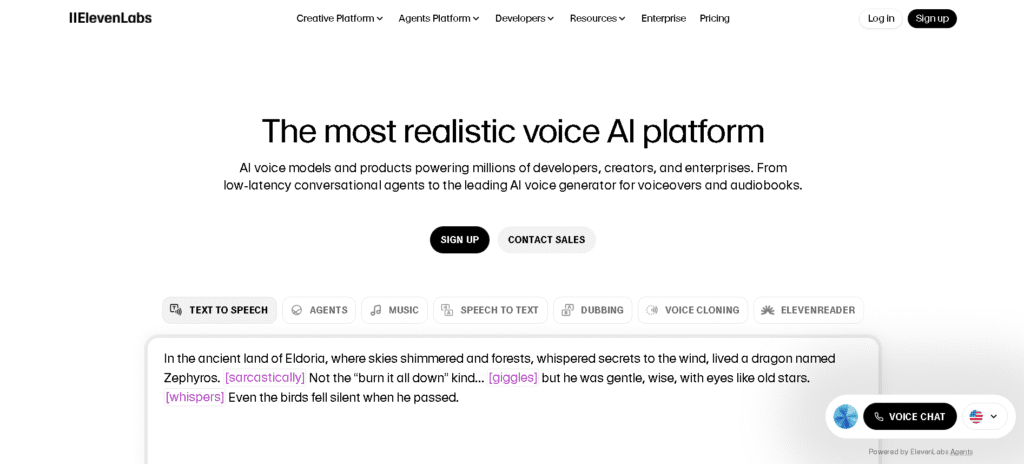
Choose a voice suited to horror (Callum is a great starting option). Paste your final script, generate the voiceover, and download the audio.
Pro tip: Slightly increase the playback speed 1.1x to tighten pacing and reduce dead air without losing clarity.
Step 7: Edit Everything Together in CapCut
CapCut Desktop is where everything comes together.
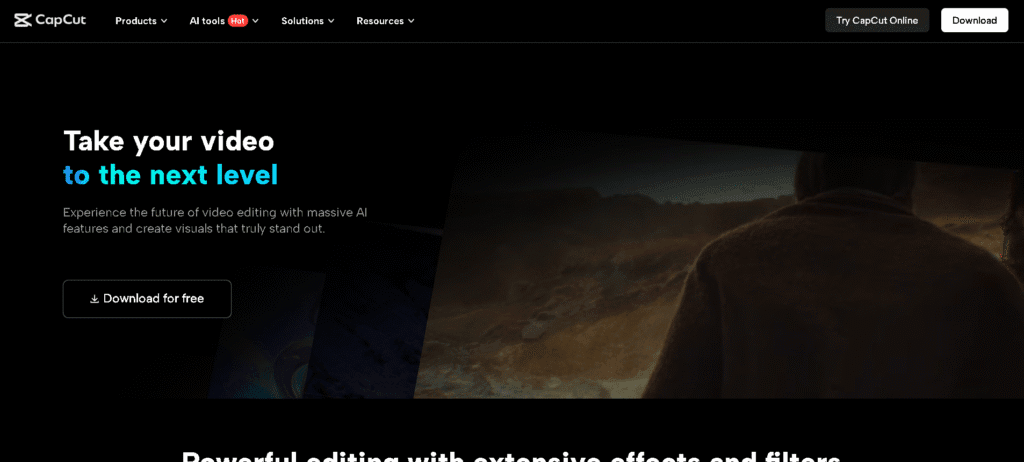
- Create a new project and import animated sequences and voiceover.
- Place the narration on the timeline and sync visuals to each beat.
- Add subtle keyframes (pan/zoom) to static frames—use ease-in/ease-out for smooth motion.
- Apply fade-in and fade-out transitions between sequences for cinematic flow.
- Preview carefully, fix pacing issues, and then export in 1080p or 4K.
A quick how-to on keyframes: pick the visual, add two keyframes at the start and end, set a small scale/position change (e.g., 104 → 120), and apply ease-in/out for smooth movement.
Step 8: Design a Scroll-Stopping Thumbnail
Bring back the competitor thumbnails you saved. Break them down visually: color contrast, facial expressions, text placement, and focal points.
If you have access to a thumbnail-analysis GPT or a similar prompt, use it to convert the thumbnail into a JSON-style breakdown (color psychology, layout, text weight). Then personalize that output to your title and visuals and recreate the thumbnail fast.
This is reverse engineering virality—you’re copying structure, not copying content.
Step 9: Build Consistency, Not Perfection
Your first video might take four or five hours. That’s normal. The second video will take three. By the tenth, you’ll finish in under two hours because your workflow will be repeatable.
Success on YouTube isn’t about one viral video; it’s about showing up consistently and improving incrementally.
Tools mentioned (for reference): ChatGPT, ImageFX, Whisk, 11Labs, and CapCut. Add screenshots where you see the bracketed image lines above.
Conclusion: Your Turn to Create Studio-Quality AI Horror Videos
There you have it—a complete, step-by-step system to create AI horror animations for YouTube. With tools like ChatGPT, ImageFX, Whisk, 11Labs, and CapCut, you can produce cinematic horror videos that look professional, captivate viewers, and grow your faceless channel—all in a fraction of the time.
If you’re serious about mastering this process, start building today. Your first video might not go viral, but it will put you ahead of 99% of creators still waiting for the “perfect idea.”
🔍 Frequently Asked Questions
Q1. How can I create realistic AI horror animations without prior animation skills?
A1. Use a combination of AI tools that handle each step: an AI writer for scripts, an image generator for characters and scenes, an animation tool for motion, and an editor to assemble everything—this workflow lets you produce cinematic horror without manual animation expertise.
Q2. What is the best AI tool for generating horror story ideas for YouTube videos?
A2. AI language models are excellent for brainstorming—prompt them for tone, setting, and twist ideas to generate dozens of unique horror story concepts you can shortlist and develop into scripts.
Q3. How do I make my AI horror videos look more cinematic and professional?
A3. Maintain visual consistency (palette, lighting, character features), apply subtle keyframe motion to stills, tighten voiceover pacing, and layer atmospheric sound design to elevate production value.
Q4. What’s the fastest workflow to produce AI horror animations for YouTube?
A4. Follow a tight pipeline: generate story → design visuals → animate key scenes → produce voiceover → edit and sync in a video editor. Optimize and repeat the workflow to cut production time dramatically.
Q5. How important are thumbnails and titles for AI horror animation videos?
A5. Very important—thumbnails and titles drive click-through rate. Analyze high-performing thumbnails for composition and color contrast, then adapt those design principles to your thumbnails for better visibility.
Q6. How can I grow a faceless YouTube channel using AI horror animations?
A6. Prioritize consistent uploads, refine your repeatable workflow, test different story formats, and optimize thumbnails/titles; steady output and incremental improvements increase algorithmic reach and viewer retention.